

DIY Disney Ears!
- Emily Shae

- Nov 24, 2020
- 3 min read
Updated: Dec 13, 2020
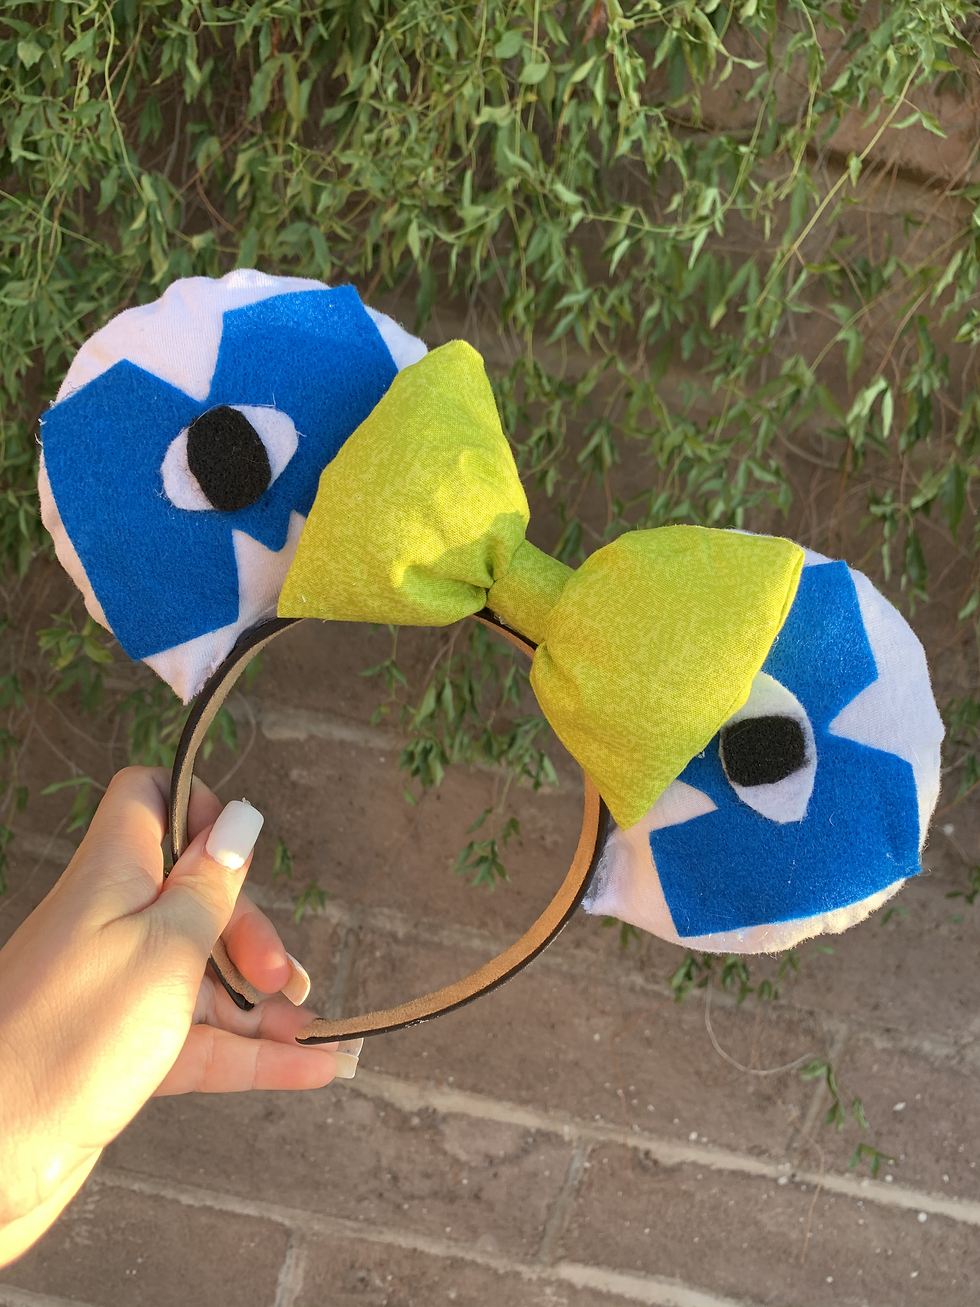
Over quarantine, my Disney College Program got cancelled and I was stuck at home with a love for Disney and some boredom. I decided to start making my own Disney Ears to stay busy and it has become one of my favorite hobbies! Today I am going to show you how to make your very own Disney ears in time for your next Disney trip!
Supplies Needed:
- 1 Inch Headband
- at least 1/4 yard of fabric of your choosing
- stuffing
- Cardboard
- Fabric for Bow
- Hot glue gun/ glue sticks
- cut outs of ear sizes
- Sewing machine (optional)
Once you have all your supplies, you can start working on your ears!
Step 1:
- Trace 4 ear outlines onto your fabric and cut them out. Leave a bit of fabric at the bottom so you can glue the ears closed after filling them. You can find perfect size cutouts online and print them out yourself!
- Tip: try to get the design a little below center so that when you glue/sew the sides together, the design is centered.
Step 2: Sew or glue the cut outs together
- Line up 2 ear sides facing each other. (Lay one ear facing up and then one facing down right on top of that one.) When you pick up this pile, the fronts of the fabric should be touches and you should see the back of each fabric on either side. Do this for all 4 ear sides that you cut out. Once they are lined up, either pin and sew the ears together, or hot glue them together. Then turn them right side out! When this step is done, you should have 2 ear shaped pieces of fabric, ready to be stuffed!
Step 3: Stuff your ears!
- Cut out 2 smaller ear shapes out of your cardboard and put 1 in each ear. Then add stuffing on either side of the cardboard and glue closed.
- Tip: If you are having a hard time getting the cardboard into your ears, try folding it in half and then unfolding once inside. Or cut the cardboard smaller! If you are having a hard time getting the ears to glue closed, take out a bit of stuffing.
Step 4: Attach ears to the headband!
- Play around with the placement of your ears. Once you have them where you want them, glue them on!
Step 5: Make the bow!
- Take your fabric you have for your ears and cut out a rectangle to make the bow. I usually make my rectangled about 8x6 but feel free to play around with sizes to fit your liking! Once you have the rectangle cut out, fold it in half (inside out and hot dog style) and glue or sew around the edges, leaving a little hole in the top middle so you can flip it right side out. Then flip your rectangle right side out and fill it with stuffing! Once it is full, take a strip of the same fabric and wrap it around the middle of the bow and glue it! Play around with how the bow folds when you wrap it so you can get it exactly how to you want it! v
Step 6: Attach the bow!
- Find where on the ears you want the bow and glue it on! Glue it to the headband and the 2 ears to ensure it doesn't fall off!
Step 7: Try on your ears!
Overall, just have fun! Be patient if you can't get it right the first time, it takes practice!
I hope these instructions were helpful to you! If you have any questions about making them, always feel free to contact me through instagram (@making_magic_with_em) or email! (Emily.nickerson19@gmail.com) I'd love to see what ears you are able to make so send me a picture of your finished product for a chance to be featured on my blog!
Have a perfect day!



Comments